After taking down my Christmas wreath this year, I realized that I didn't have a "January-Appropriate" wreath for my front door, so I decided to make one. I relied on a principle that I apply often in my design work: assume that you already have everything that you need. Operating from this assumption boosts my creativity. (Also, it's fun, and it doesn't require clipping coupons.) If you have a winter scarf, a wreath, and some wire, you can make a similar January wreath in about 15 minutes.
First, I dug in my coat closet looking for inspiration, and I unearthed a blue and white striped scarf. Perfect! Next, I needed a wreath form. This project could work with an artificial pine wreath, a grapevine wreath, a straw wreath, a burlap wreath, or really any wreath or wreath-like object that's plain enough to play nicely with your chosen scarf. (The links above will take you to see 18" wreaths on Amazon, though you may need to select one with a smaller diameter depending upon the length of your scarf.)
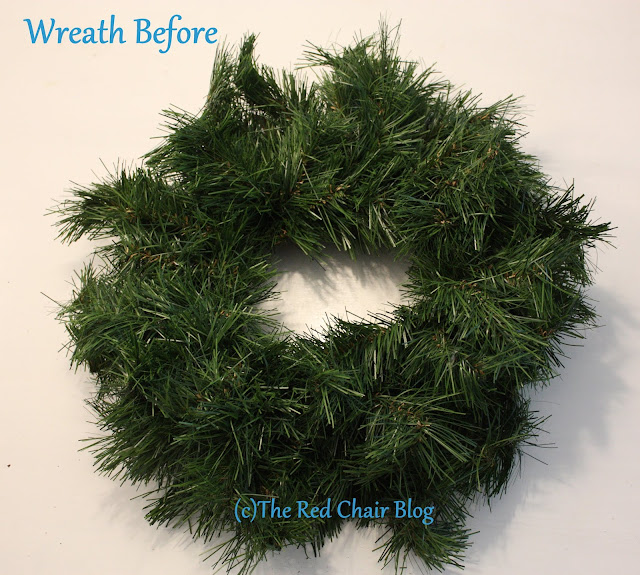
As luck would have it, I had on hand a simple, artificial pine, 18 inch wreath bedecked with only a few despondent pinecones. I removed the pinecones (reserving the floral wire that had connected them to the wreath), and I was left with this blank, pseudo-pine slate:
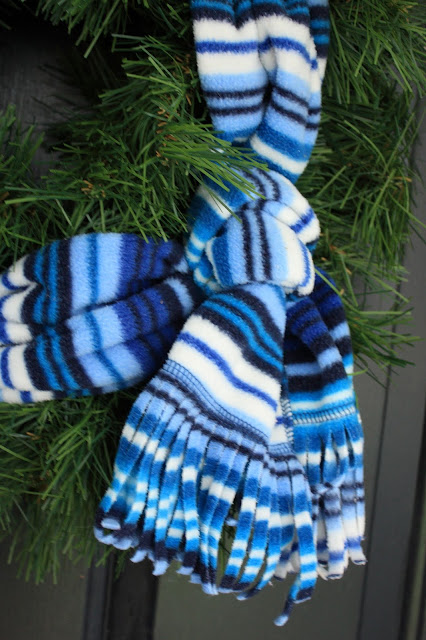
I wanted a jaunty knot in my scarf, but I knew from personal experience (ie: from wearing this scarf) that real scarf knots are bulky and awkward. This situation called for a "faux knot". I wasn't sure how to create one, but I decided to experiment. I lay my scarf out so that one end overlapped the other:
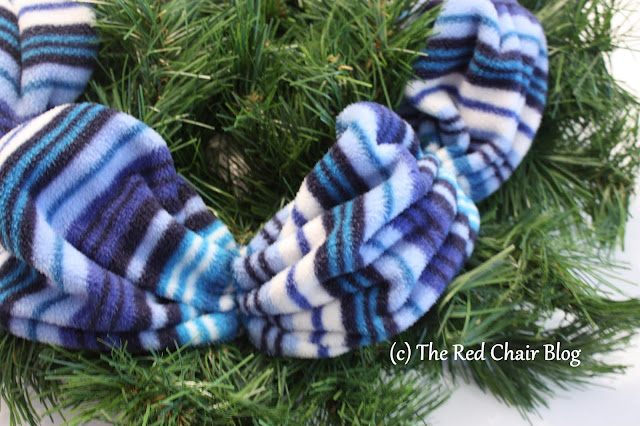
Then I used a piece of wire to "bunch" one end of the scarf around the other. In the photo below, end #1 lies in a straight line through the "tunnel" created by the wire-gathered loop in end #2.
Once "Operation Jaunty Knot" had been successfully accomplished, I lay the scarf out on my wreath to estimate how many gathers would look best. The faux knot allowed me to adjust the length a little if needed.
I had 6 pieces of floral wire left over from the pine cones, so I decided to use one piece to attach the faux knot to the wreath and the other 5 to create the 6 "bunched" sections of scarf. If you don't have floral wire on hand, you can use a series of twist ties connected end to end, thread, yarn, dental floss, twine, ribbon, zip ties, or whatever you have on hand. Be creative, and trust that you have what you need.
I accordion-pleated the scarf wherever I wanted to connect it to the wreath, and then I wrapped it tight with wire.
Here's a photo of what the wreath looked like when it was halfway finished. If you're working with a repeating pattern, you can use the fabric repeat to help space your "gathers". Or you can wing it. It's only a wreath!
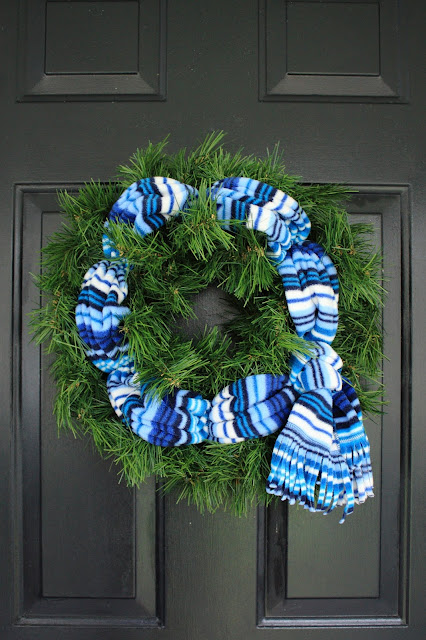
Now, it hangs on my front door inviting guests to come inside and get cozy:
Happy New Year from The Red Chair Blog!
This post contains Amazon Affiliate links.


